This tutorial will hopefully show you how to paint bronze armour. I should stress that this is aimed very specifically at doing armour, I will do a separate tutorial for painting larger items such as cannon as the methods and final effects are quite different.
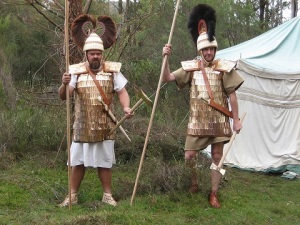
The first thing you notice about bronze is that when polished it is an incredibly shiny and reflective metal, as can be seen below.
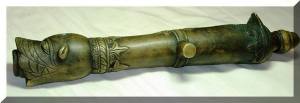
However, when it is left outside for a long time, it collects verdigris and the finish is dulled significantly. The photo below shows a piece of bronze that has been cleaned and you can see some verdigris on the right but you can see how the overall colour is much darker. You can also see how despite the cleaning, there are still traces of verdigris in some of the recesses.
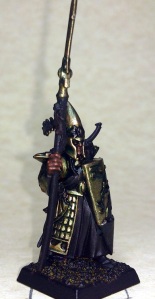
This is the effect I am going for in this tutorial. I don’t really want the brand new polished look on my models, I want my army to look as though it is wearing well used, albeit well maintained and cared for, armour. The sort of armour that perhaps has been handed down through generations (as such things often were).
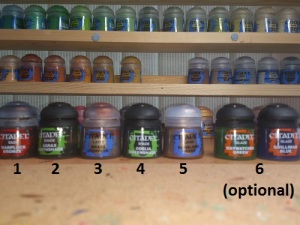
Colour Palette
You will need the following colours from the Citadel Range
- Warplock Bronze (Base)
- Aggrax Earthshade (Shade)
- Brass Scorpion (Layer)
- Coellia Greenshade (Layer)
- Runelord Brass (Layer)
- Waywatcher Green & Guilliman Blue (Glaze) (optional)
The final, optional stage will create the dulled down effect I am looking for. You can leave this out if would prefer a more polished look or, if you want to go even furtherm drybrush with Gryphon Gold, one of the dry compounds.
Anyone using other paint ranges should use the Colour Conversion Chart link in the menu on the left of the screen.
Step 1
Base coat all of the armoured areas with Warplock Bronze. Metallic paint generally works best over a black undercoat
Step 2
Wash the armour generously with Aggrax Earthshade.
Step 3
Highlight the armour using Brass Scoprion. Note that it is important to leave the recesses of the darker brown visible in order for this too work, if you don’t the next wash will be too green.
Step 4
Wash the armoured areas with Coellia greenshade. Don’t go mental with this – you want it to run into the recesses but you don’t want to leave too much on the flat surfaces.
Step 5
Highlight with Runelord brass. As with the Brass Scorpion, you need to make sure that you leave the recesses and parts of the previous layers visible.
Step 6
This final stage is entirely optional. If you are happy with the last stage, you can leave it there. Personally I like to dull the effect down a little using a 1:1 mix of Guilliman Blue & Waywatcher Green, you can thin down some Coellia Greenshade instead if you prefer.
Examples
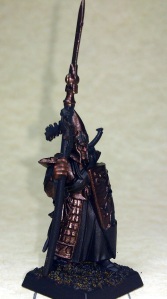
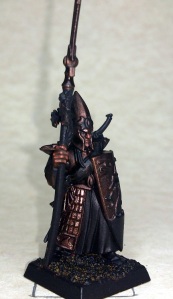
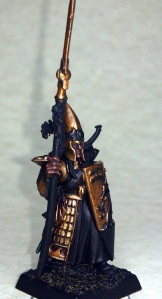
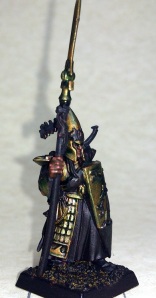
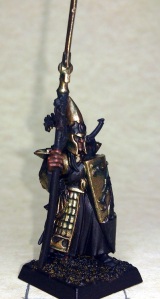
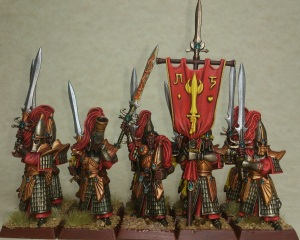
Here’s an example of a unit of Sword Masters I have painted using this very technique.
You can find some more examples of miniatures I have painted in this in this album on Photobucket.
I hope that this has been useful to you, please feel free to comment if you liked it or if you think it could have been presented better or if there’s anything you would like to see me do a tutorial in in the future.

Cool stuff! I should experiment more.
I love experimenting, especially with metallics